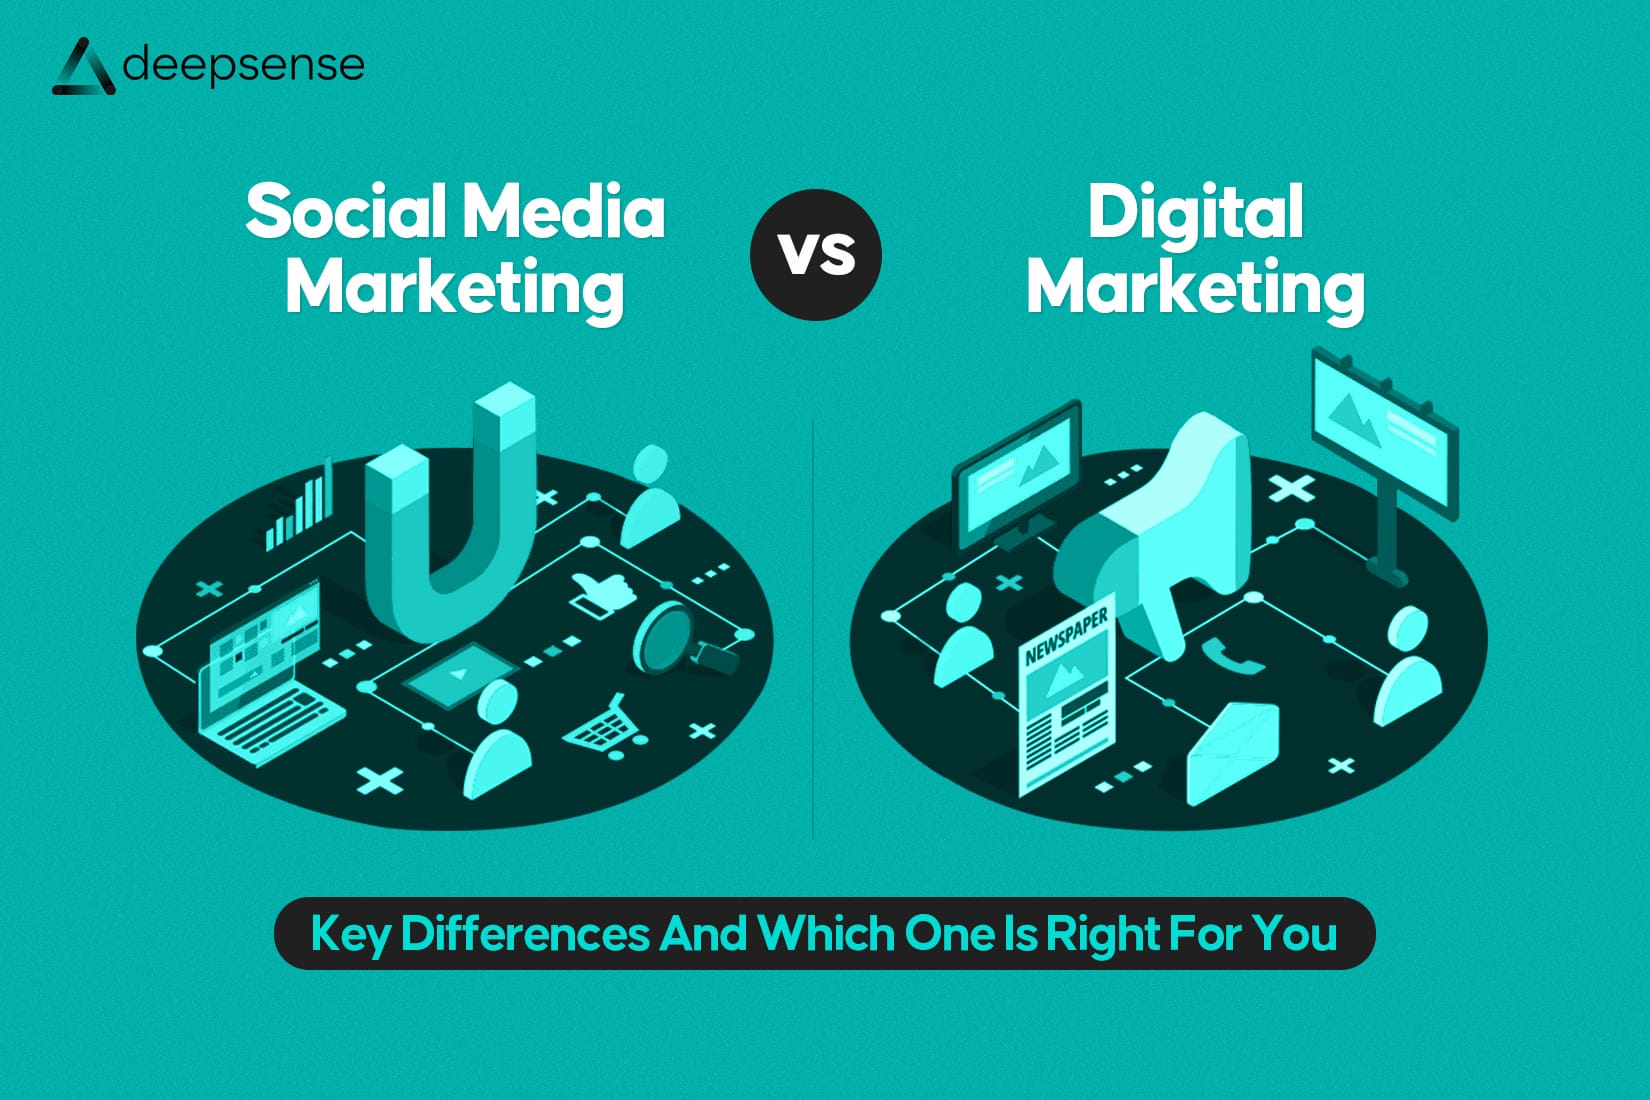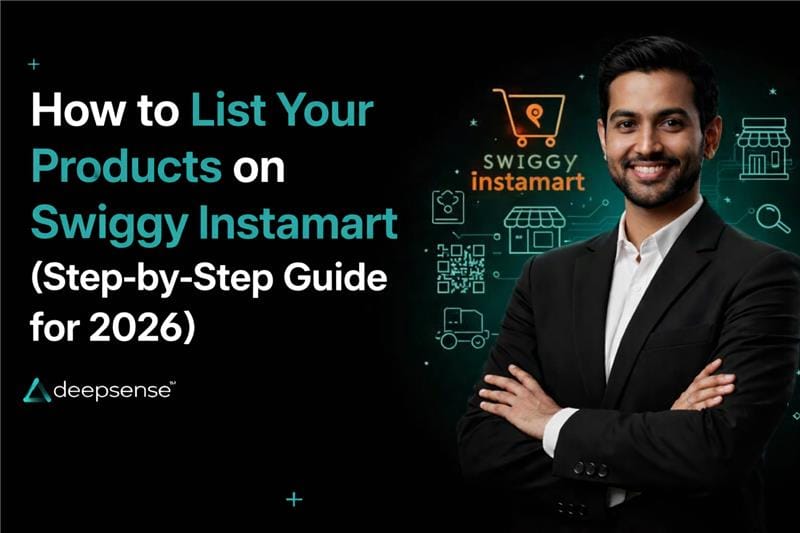
Swiggy Instamart is one of India’s leading instant delivery platforms for brands, giving sellers access to millions of users looking for groceries, essentials, and everyday products delivered in minutes.
If you’ve been wondering how to list products on Swiggy Instamart or how to become a partner, this guide covers the entire process even if you’re a beginner.
What It Means to Sell on Swiggy Instamart
When you sell on Instamart, your products become available to users browsing the Swiggy app under the Instamart section. Swiggy picks, packs, and delivers to customers while you manage inventory and pricing.
This model enables brands to reach customers who prefer quick commerce, driving both visibility and revenue.
Swiggy Instamart Seller Requirements
Before you begin, make sure you meet the basic eligibility requirements:
Business Eligibility
- Registered Indian business (proprietorship/LLP/Pvt Ltd) with GSTIN
- Valid PAN Card
- Active bank account
- Business address in India
- Product category compliance (e.g., FSSAI for food)
Documentation Checklist
- GST Certificate
- PAN Card
- Business/owner Aadhaar
- Bank account details
- Business address proof
- Product catalogue with SKUs, MRP, images, and descriptions
- FSSAI License if selling food or perishable items
Having accurate documentation helps avoid verification delays during Swiggy Instamart seller registration.
Step-by-Step: How to List Your Products on Swiggy Instamart
Step 1: Visit the Partner Portal
Go to the official Swiggy Instamart seller portal and click on “Become a Seller” or “Partner with Swiggy.”
This is where your journey begins.
Step 2: Fill in Business Details
Enter your:
- Business name
- GSTIN
- PAN
- Contact information
- Business address
You’ll also upload supporting documents (GST, PAN, ID proof, etc.) and your initial product catalogue.
Step 3: Verification & Review
Swiggy’s team reviews your application and documentation. This process typically takes between 7–15 days if all paperwork is accurate.
Once approved, Swiggy often assigns a Category Manager to guide you through onboarding and help with commercial discussions.
Step 4: Commercial Terms & Agreement
After verification:
- You’ll discuss commission charges and pricing
- Finalize terms such as margins, promotions, and categories
Commission charges on Swiggy Instamart generally range from ~15% to ~25% + GST, depending on category and negotiated terms.
There is no upfront registration fee to become a seller, but Swiggy earns through commissions and possible platform/service charges.
Step 5: Product Listing & Content
Now comes the part where you list your products:
- Upload high-quality images (front, back, and picker view)
- Add compelling product titles
- Write detailed descriptions
- Set accurate MRPs and inventory levels
- Assign correct categories and keywords
This step determines how discoverable and appealing your products are on the platform.
Tip: Use clear and precise product titles to improve search visibility within Swiggy Instamart.
Step 6: Inventory Management & Go-Live
Once your products are approved and live:
- Swiggy sends purchase orders (POs) to you or your warehouse
- You ship inventory to assigned dark stores
- Your listed products become available for customers to order
Swiggy handles last-mile delivery, while you focus on inventory replenishment and pricing updates.
Commission, Fees & Payouts
Commission Charges
- Typically 15%–22% per order, varying by product type
- Additional platform or promotional fees may apply
- GST is applicable on commissions
Payout Cycle
- Payments are usually settled weekly or bi-weekly into your bank account
- You can track sales, commissions, and settlements through the seller dashboard
Understanding your cost structure is essential for profitability when you sell on Instamart.
What You Can & Cannot Sell
Allowed Categories
- Groceries & essentials
- Packaged foods and beverages
- Snacks
- Dairy products (with FSSAI)
- Personal care & household items
- Stationery, accessories, etc.
Restricted Items
- Alcohol, tobacco, and vapes
- Unlicensed perishable items
- Counterfeit or non-GST products
- Any item violating safety regulations
Be sure your product categories are compliant to avoid surprises during verification.
Growth Tips for New Sellers on Swiggy Instamart
To maximize sales after onboarding, consider:
Optimized listing titles and descriptions
Competitive pricing and margin strategy
Seasonal offers or bundle deals
Participation in Swiggy Instamart promotional banners
Accurate inventory tracking to avoid out-of-stock issues
These tactics help enhance discoverability and conversions.
Final Takeaway
Listing your products on Swiggy Instamart is one of the most effective ways for brands to tap into India’s expanding quick commerce ecosystem. With simple Swiggy Instamart seller registration, clear documentation, and smart product listings, you can start selling to a large, intent-driven audience.
From onboarding to commission planning and live inventory, knowing how to list products on Swiggy Instamart prepares your business for growth in the fast-delivery marketplace.